Landscape Photography
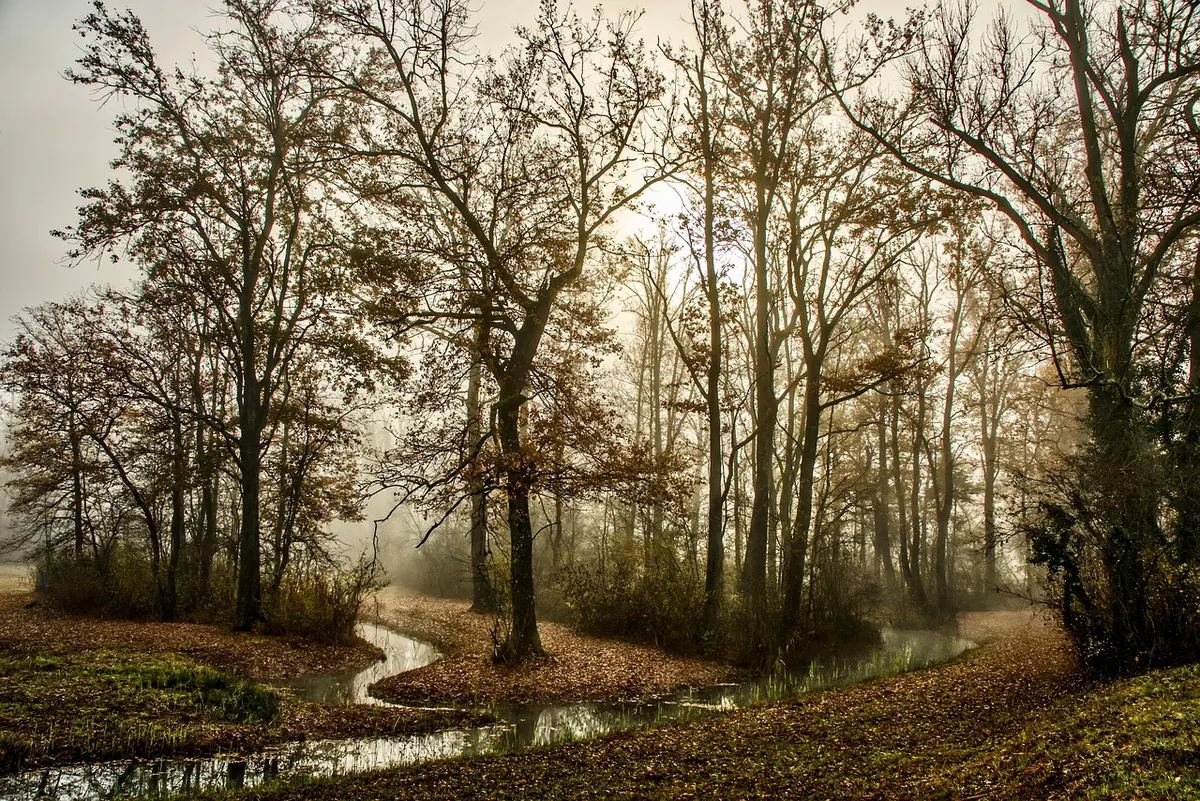
How to Photograph Moorland in Fog and Low Light
Fog does something to a moor that no other weather can. The horizon disappears. Grouse, sheep and gritstone outcrops become shapes that seem to float. Heather loses its colour and turns into pure texture. For a photographer, that is not a problem to solve — it is the reason to set the alarm for an hour before sunrise.
The catch is that your camera dislikes it. Fog means low contrast, low light and often very little colour, and the meter will cheerfully turn a bright bank of mist into flat grey mush. A handful of deliberate decisions fix most of it.
Exposure: let the fog be bright
The instinct in poor light is to brighten everything. But fog is bright — frequently brighter than the mid-grey your meter is calibrated for. Point the camera at a wall of mist and it will faithfully underexpose it to grey. Add exposure compensation, somewhere between +1/3 and +1 stop, and check the histogram rather than the screen. On a misty morning you want the data sitting in the upper middle of the graph, not pressed against the left edge.
If you want something brooding and dark, that is a legitimate choice — but make it a choice, not an accident of metering. And shoot RAW. Fog files need shadow recovery and white balance work, and JPEGs run out of room long before you are finished.
Settings that survive poor light
- ISO. Somewhere between 400 and 1600 is normal for a misty dawn. With a modern sensor, 1600 in a RAW file is perfectly usable; go higher only if you need a faster shutter speed handheld.
- Aperture. f/8 to f/11 on a wide lens gives you depth without diffraction creeping in. Drop to f/4 if you deliberately want one foreground stone sharp and everything behind it soft.
- Shutter speed. On a tripod, anything from 1/15 second to several seconds lets drifting mist smear into soft streaks. Handheld at 24mm, treat 1/60 as your floor; stabilisation buys you two or three stops on top of that.
- Focus. Manual, using live view magnification. Autofocus hunts badly on a blank white frame.
- White balance. Pick Daylight or Shade and leave it. Auto white balance drifts from frame to frame as the fog shifts, which makes a sequence look inconsistent when you get home.
- Bracketing. Rarely worth it here. Backlit mist can blow out, but the fog moves between frames, so a single careful exposure usually looks more natural than a blended set.
Focus and depth of field in the murk
Contrast is what autofocus needs, and fog removes it. Switch to manual focus and use live view at 10x magnification. For a wide scene, focus roughly a third of the way into the frame. Or pick the nearest sharp element — a fence post, the lip of a rock, a stem of heather — and let everything behind it dissolve. Do not chase sharpness in the distance. There is none, and that is the point of being there.
f/11 is usually ample. Pushing past f/16 only adds softness through diffraction, and there is no fine detail in the background worth protecting.
Composition: layers, silhouettes, negative space
Fog is an editor. It removes the clutter that normally spoils a moorland frame — pylons, car parks, the distracting bright patch of sky on the horizon — and leaves you with shape and tone. Give yourself permission to simplify.
Work in layers
Look for successive ridgelines receding into white, each one paler than the last. A telephoto compresses them into bands; a wide lens stretches them apart. Fence lines, walls and streams do the same job in miniature, leading the eye into nothing at all.
Anchor the foreground
A single dark object against all that white does most of the work in these pictures: a block of gritstone, a curl of dry grass, a puddle reflecting nothing, a gate hanging open. Get low. Sit the camera on the tripod at knee height or lower and let the anchor fill a third of the frame.
Shoot into the light
With the sun behind the fog, edges glow and droplets catch light. Expose for the highlights and let the shadows go. This is where fog photographs stop being flat and start having depth.
Use negative space honestly
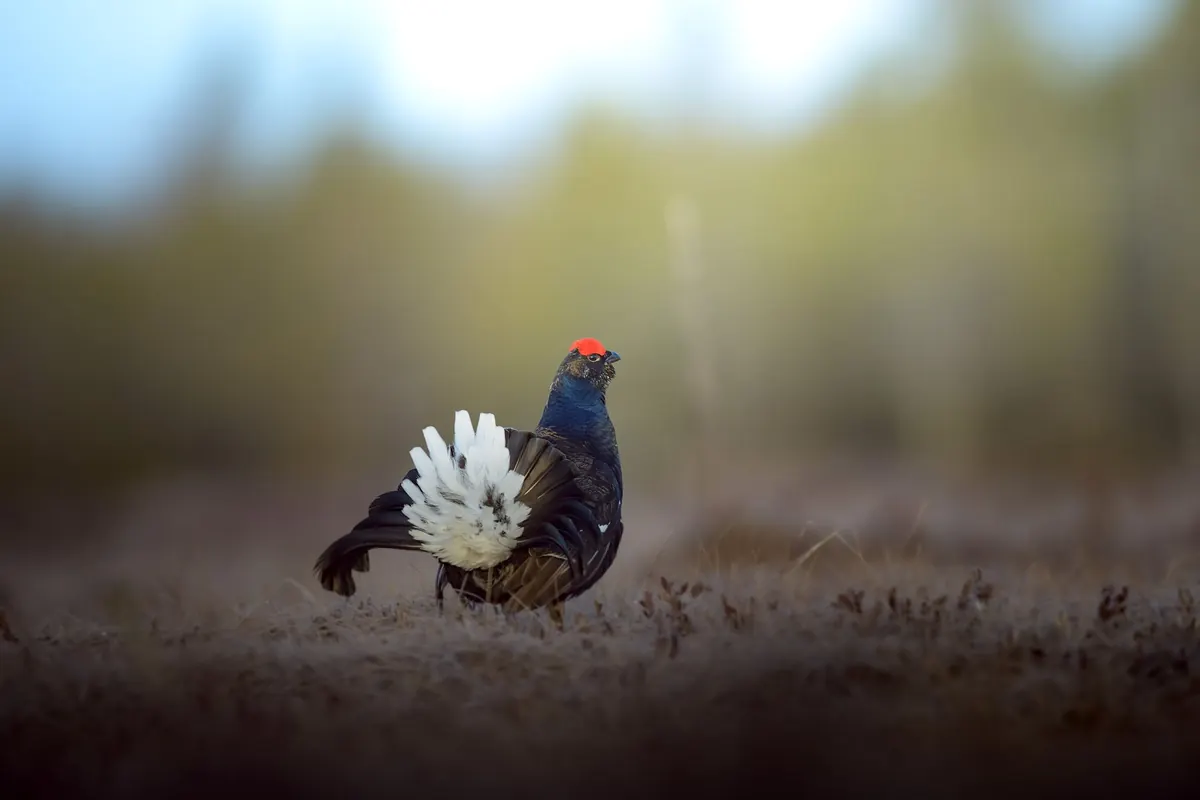
Place your subject small, low or off to one side, and let the mist occupy most of the frame. A grouse on a post, a walker on a ridge, a hawthorn alone in a field. Scale only reads when there is emptiness around it.
Finally, watch the edges of the fog itself. The transition is the drama. Stand still, keep the camera on the tripod, and wait — a window can open in thirty seconds and close again just as fast.
Subjects that suit the moor in fog
Heather in late-summer flower, bog cotton, cotton-grass heads, gritstone edges, drystone walls, lone hawthorns, rowan, ponies, grouse, peeling fence posts, old boundary stones, a stream cutting through peat. Anything with a strong outline. Add a person in a dark coat and the whole scale of the landscape shifts.
Kit, comfort and staying safe
Moorland in fog is disorienting in a way that surprises people. Paths vanish, familiar landmarks go missing, and phone signal is unreliable on high ground. Take a paper map and a compass, know how to use them, and tell someone where you are going and when you expect to be back. If your navigation is shaky, go with someone else or stay on marked routes. A headtorch, waterproof boots and spare layers belong in the bag even on a short walk.
For the camera itself: a tripod and cable release, a lens hood to keep droplets off the front element, two or three microfibre cloths in a plastic bag, and spare batteries kept warm in an inside pocket, because cold drains them quickly. Avoid changing lenses out in the open; moisture on a sensor is a slow, expensive nuisance.
Finishing the files
Keep the editing restrained. Lift the shadows gently, cool the white balance slightly if you want the mist to feel cold, or warm it for a softer dawn mood. Use dehaze sparingly — a little separates distant layers, too much sucks the atmosphere straight out of the picture and leaves grey mud behind. Add contrast in the midtones rather than globally, and go easy on noise reduction. A bit of grain suits fog; plastic smoothness does not.
A routine that works
Arrive before first light. Set up in one place rather than walking miles, because fog rewards patience more than legwork. Tripod low, aperture around f/9, ISO 400, white balance fixed, manual focus at 10x on something a third of the way in. Take one frame, check the histogram, add compensation until the mist sits bright, then stop fiddling with the camera and start watching the scene. Check the edges of the frame for stray branches. Wait for the light to lift or the fog to thin rather than chasing it.
Give a location an hour in these conditions and you will come home with two or three frames that no sunny afternoon could have given you.
Photo: suju-foto / Pixabay
Related Articles